Saturday, December 10, 2011

Chilly Weather = Chili Time


I don't know about anyone else, but I am completely addicted to the cooking competition show Top Chef.  This season takes place in Texas and a few episodes back they all had to compete in a chili cook off.  One of the groups made a mole inspired chili with cinnamon and chocolate, which inspired me to create the recipe below.  The best part about chili is that the longer it cooks, the better it tastes.  It's perfect for this time of year because you can spend 20 minutes getting this recipe going in the morning, then let it simmer away in a crock pot while you head out to do your holiday shopping.  Hours later, you can come in from the cold to a rich home cooked meal.  It will taste so hearty and flavorful that everyone will think you spent hours slaving away in the kitchen.  (Don't worry - your secret is safe with me.)

Vegetarian Chili

3 Tbsp olive oil
1/2 large white onion, diced
2 large jalapenos, cored and seeded, minced
6 cloves garlic, minced
2 tsp ground cumin
1/2 tsp cayenne pepper
1/2 tsp cinnamon
4 Tbsp chili powder
1 Tbsp salt
4 15 oz cans of beans, drained and rinsed
1 28 oz can of crushed tomatoes (including added puree)
1 cup vegetable broth
2 Tbsp bittersweet chocolate chips

 Heat oil in slow cooker (or large stock pot) over medium heat.  Add onions and saute until translucent, about 10 minutes.  Add jalapenos and garlic and saute for 2 minutes:


Add spices and salt.  Stir to coat onion and pepper mixture evenly.  Cook for one minute:


Stir in beans (I used 2 cans of black beans, 1 can of white beans, and one can of kidney beans because that's what I happened to have on hand, but you can use whatever beans you like best), tomatoes, and veggie broth and cook for 5 minutes (or until mixture begins to thicken slightly):


Stir in chocolate chips.  Cover slow cooker (or stock pot) and turn heat to the lowest setting.  Let the chili simmer away for at least 4 hours (up to overnight).

I topped my chili with sour cream, cheddar cheese, and chives and served it with cream biscuits (I found the recipe in the November issue of Bon Appetit).  Enjoy!


Sunday, November 27, 2011

East Meets West: Curried Pumpkin Soup


Although I love all of the tradition associated with Thanksgiving and the delicious foods that I grew up eating on this holiday, as I mentioned in my last post, I was looking to shake things up a bit this year.  I think that one of the most exciting aspects of cooking is trying out new flavor combinations and I recently came across a recipe for a Pumpkin Shrimp Curry which sounded amazing.  (Although I haven't yet gotten around to giving it a try, I am definitely planning to and I promise to share).  This got me thinking - what if I added the flavors of curry to a traditional pumpkin soup recipe?  The result was so tasty that I may just have to make it a Thanksgiving tradition after all.    

Curried Pumpkin Soup

1 medium white onion, finely chopped
1 Tbsp unsalted butter
2 cloves garlic, minced
1 Tbsp ginger
1 tsp ground cumin
1/2 tsp ground coriander
1/8 tsp cardamom
1 tsp yellow curry powder
1 tsp salt
1/2 tsp crushed red pepper flakes
1 15 oz can pumpkin
1 1/2 cups vegetable broth (or chicken if you prefer)
1/2 of a 14 oz can of coconut milk

**Note:  I realize that cardamom and coriander can get expensive and may not be spices that you use very often.  If you don't have these spices lying around and don't feel like investing in them, you can simply double the amount of curry powder that you add to the soup since curry powder already contains these spices.**

Melt butter in a heavy medium saucepan over medium heat.  Add onion and cook until translucent (approximately 5 to 10 minutes).  Add garlic, ginger, cumin, coriander, cardamom, and curry powder and stir to coat onions.  Cook for about 2 minutes to meld the flavors:


Add salt, red pepper flakes, pumpkin, broth, and coconut milk.  Stir to mix and bring to a simmer.  Cook, uncovered, for 30 minutes.


Transfer soup to a blender and puree until smooth (I do not recommend transferring all of the soup to the blender at once - I did this and ended up with hot pumpkin soup all over my kitchen.  Be sure to blend in small batches instead to avoid burning your hand and having to clean the kitchen top to bottom!).  Pour blended soup into bowls and serve with warm crusty bread.

Friday, November 25, 2011

Dark Chocolate Ganache Tart: The Pie That's Not a Pie


This year for Thanksgiving I was feeling super ambitious and decided to try out a whole bunch of new recipes, including a curried pumpkin soup (recipe to follow in the next post).  And although I have a well documented obsession with all things pumpkin (see here and here), I thought that pumpkin soup and pumpkin pie all in one meal might be overkill, even for me. 

But this left me wondering what I should make to finish off the big meal.  A different type of pie?  Cake?  Cookies?  I asked Paul what he thought I should make and he said, "How about a pie that's not a pie?".  When I responded with, "A pie that's not a pie?  What does that even mean?", he just shrugged, so I knew that in order to solve this mystery I would have to go straight to the source:


This fantastic cookbook is a 690 page bible of dessert awesomeness, including a 35 page intro section that defines every ingredient and piece of cooking equipment you may ever need to use, and a section that walks you through the proper way to follow a recipe.  In other words, there is absolutely no dessert problem that this book cannot solve.  And as I flipped through the book I came across the answer to the question: a tart is kind of like a pie that's not quite a pie.  I tried my own spin on one of the recipes I found in the book and I've shared it with you below.  Give it a try!  I promise that it's much easier to make than it looks, but your guests will be fooled into thinking that you went to pastry school and spent hours slaving away in the kitchen (or at least that's what I like to tell myself).

Dark Chocolate Ganache Tart with White Chocolate Swirls and Pecan Walnut Graham Cracker Crust (Adapted from Bon Appetit Desserts)

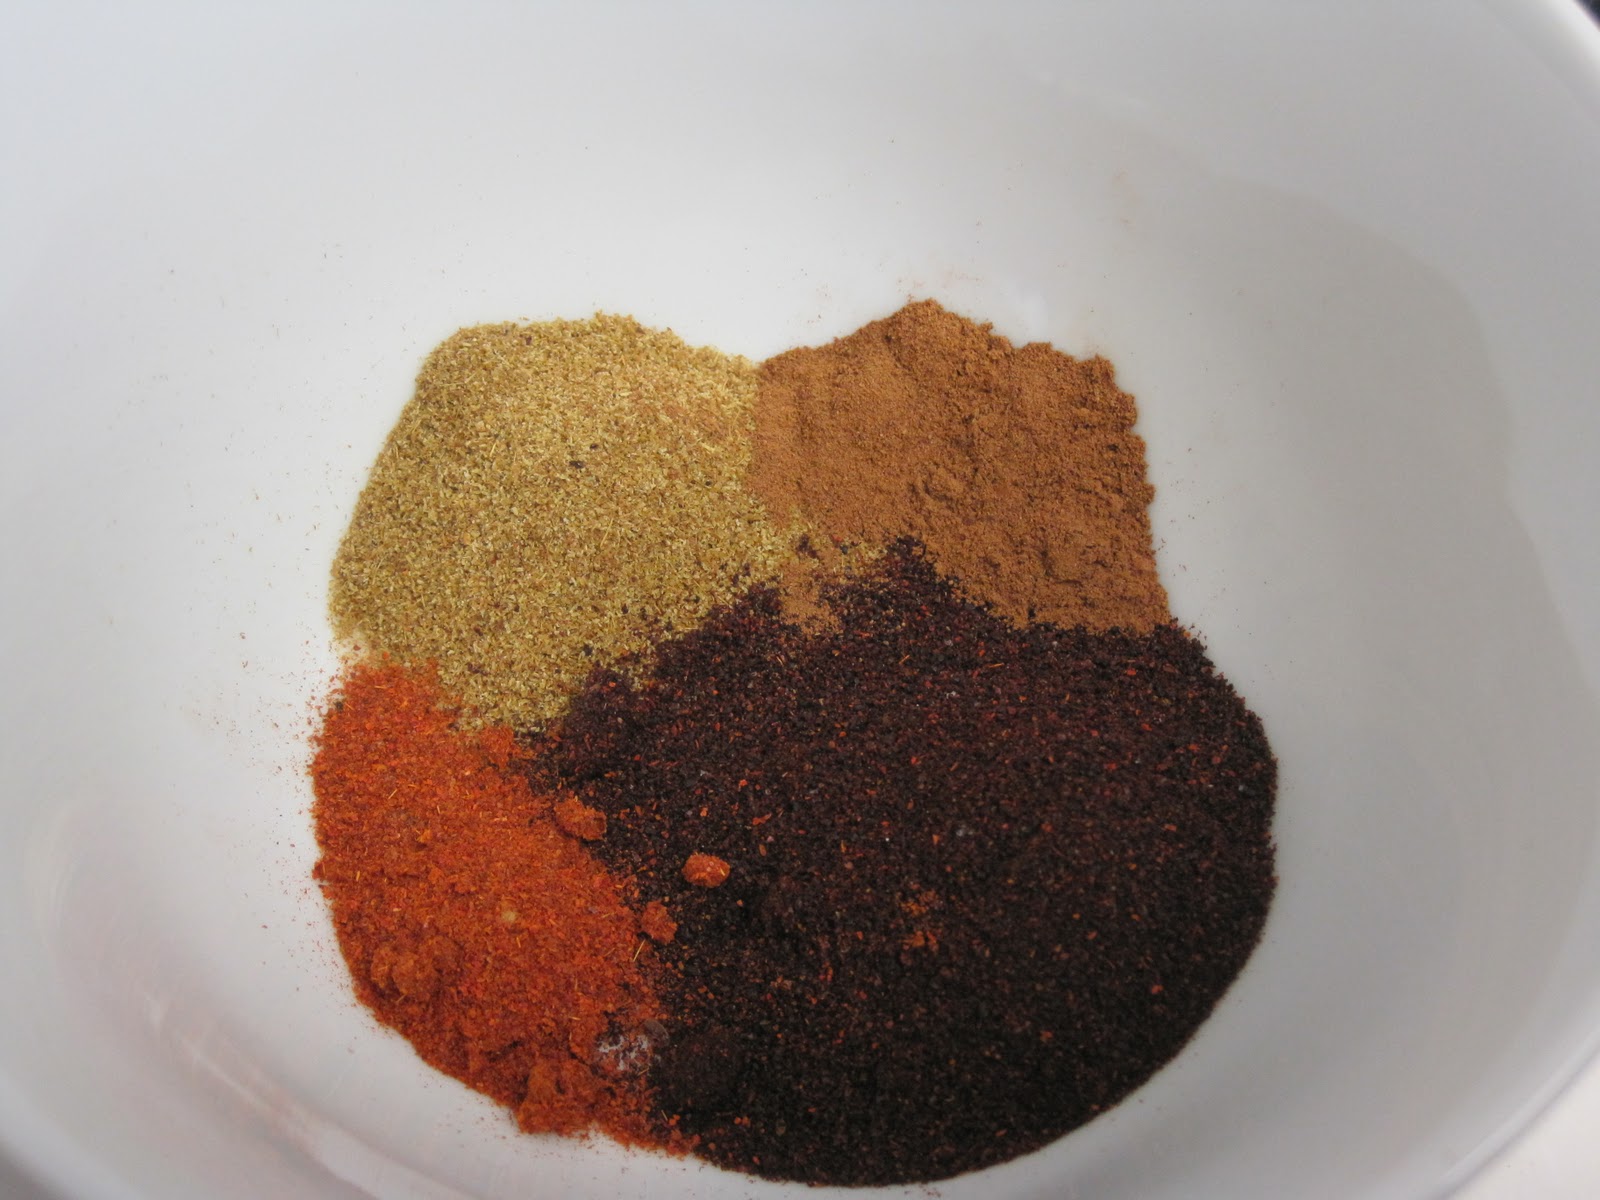
Pecan Walnut Graham Cracker Crust:

9 graham crackers, broken
1/4 cup pecans
1/4 cup walnuts
1/4 cup dark brown sugar
pinch of salt
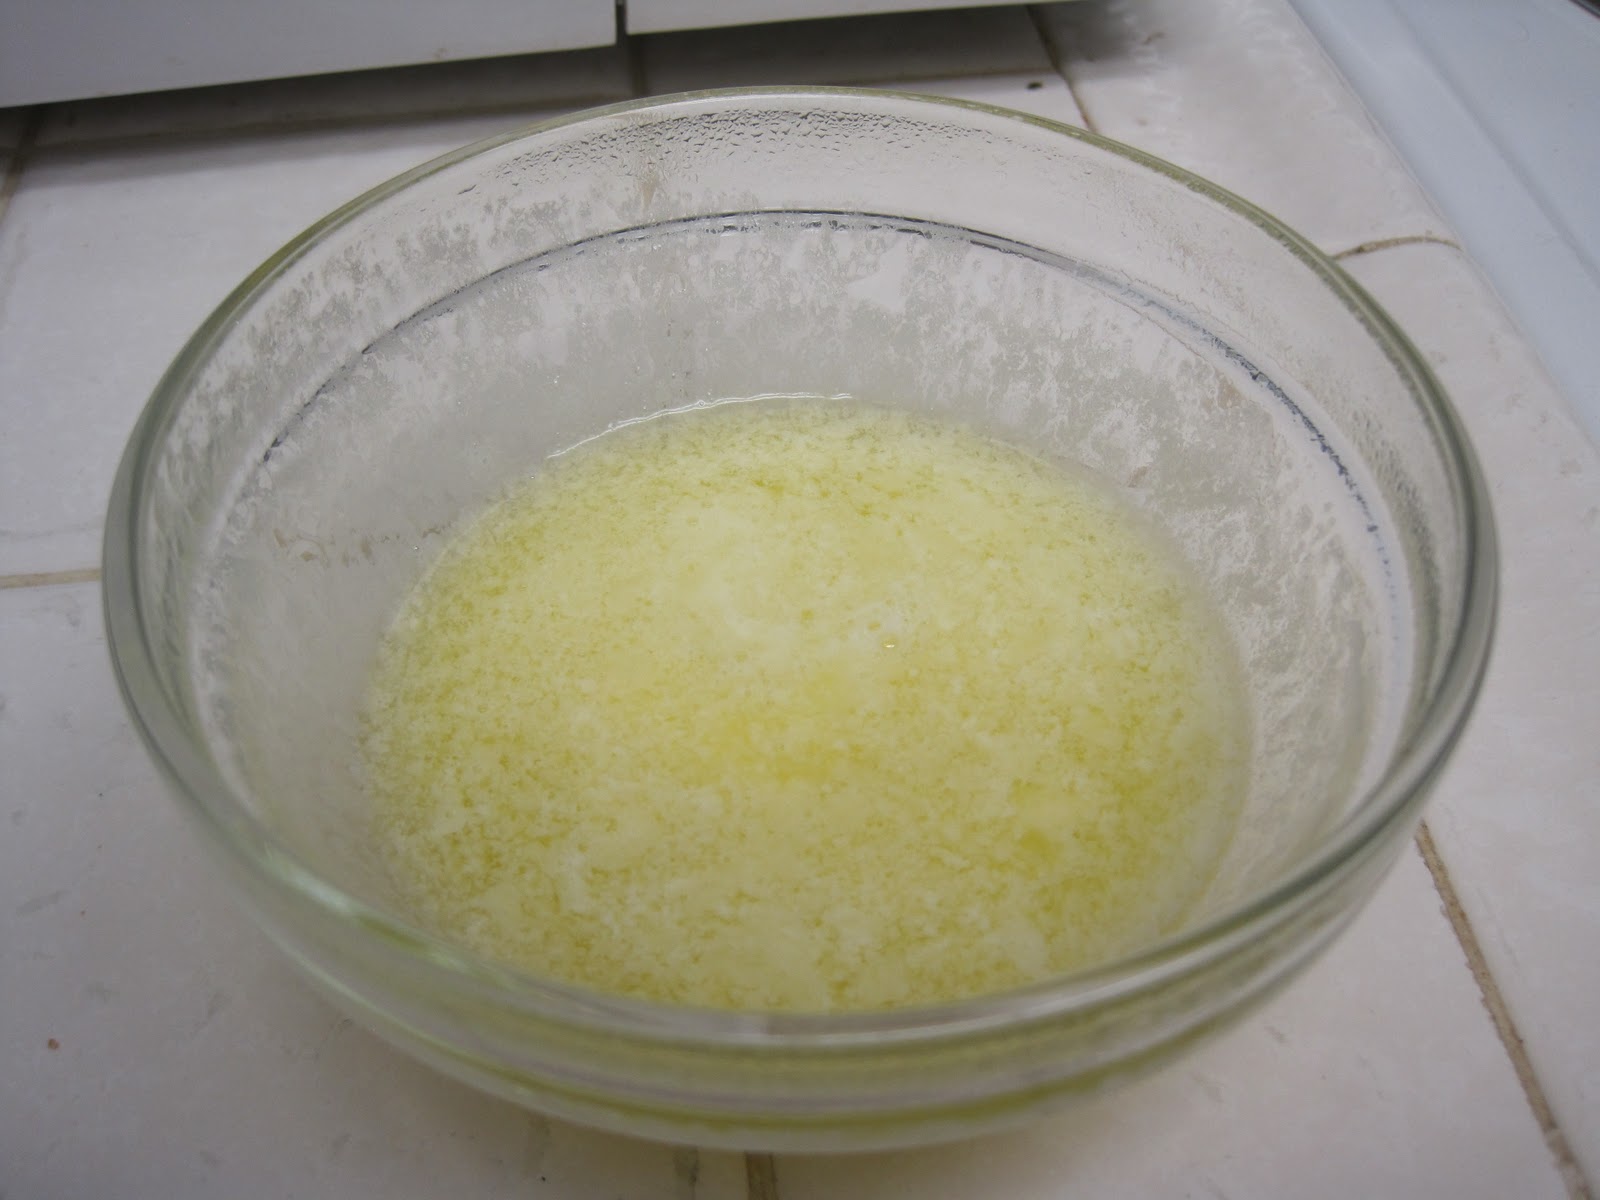
5 Tbsp unsalted butter, melted
1/2 tsp vanilla extract

Dark Chocolate Ganache Filling:

1 cup heavy whipping cream
2 Tbsp half and half
2 Tbsp dark brown sugar
pinch of salt
1/2 of an 11 oz. bag of dark chocolate chips
1 Tbsp brandy
1 tsp vanilla extract

White Chocolate Swirls

1/4 of an 11 oz bag of white chocolate chips

Preparing the crust:

Preheat oven to 350 F.  Coat a 9" tart pan with removable bottom with non-stick spray:


Break 9 graham crackers (the entire graham cracker sheet as pictured below, not 9 individual crackers) and place in a food processor:


Add pecans, walnuts, and brown sugar and pulse to mix completely:


Transfer cracker, nut, and sugar mixture to a large mixing bowl.  Microwave butter for about 30 seconds on high to melt.  Add melted butter and vanilla extract to cracker mixture and mix to incorporate:


Pour mixture into tart pan:


Press the mixture down with your fingers to evenly distribute crust in the pan (don't be discouraged if the crust seems thick - it's supposed to be that way):


Bake crust for 10 minutes.  Allow to cool completely at room temperature before adding the filling.

Preparing the filling:

Bring heavy whipping cream, half and half, dark brown sugar, and salt to a simmer in a small saucepan over medium heat (keep an eye on the pan and stir periodically so that the mixture does not burn):


Remove mixture from heat and add dark chocolate chips (I used Ghirardelli, but you can use any brand of semisweet or bittersweet chocolate chips that have 61% cacao or less).  Whisk until chocolate chips have melted and the mixture looks smooth:


Add brandy and vanilla extract to the mixture and whisk to incorporate.  Pour filling into crust (the filling is so glossy that you can see the reflection of my espresso machine in it).


Preparing the white chocolate swirls:

Place white chocolate chips in small heavy saucepan on the lowest heat setting possible.  Stir constantly until chips melt:


Transfer melted white chocolate to a small ziploc bag (I did this because I don't own a pastry bag, but I'm sure that if you do, that would work just as well).  Twist the bag just above the chocolate:


Snip off the tip of the bag (be sure to do this near the tart because the chocolate is going to want to start flowing almost immediately).  Pipe white chocolate in 1 continuous spiral starting at the center of the tart and working your way towards the edges (to make it look really professional you'll probably want to space the lines at an equal distance.  I can't even write my name in a straight line, so I ended up with an unevenly spaced spiral that was a bit of a lopsided mess):


Take a sharp knife and run it through the filling, starting at the center of the tart.  Move a few inches over and run the knife through the tart again, this time starting at the outer edge.  Continue alternating until you've worked your way around the entire tart:


Tent foil over the tart and refrigerate for 2 hours (or overnight) so that the tart can set:


Then dig in and enjoy - it tastes every bit as decadent and luxurious as it looks!


Hope you all had a very Happy Thanksgiving!

Saturday, November 19, 2011

Thai Take Out, Straight from Your Kitchen


After logging yet another 12 hour day in the lab, the last thing that I wanted to do was cook.  I spent the last few hours of my work day dreaming of ordering glorious take out boxes stuffed with delicious treats.  But then I remembered that Christmas is somehow only 5 short weeks away (yes really) and that I need to hang on to every last penny in my pocketbook so that I don't have to deny my loved ones or myself of a fabulous holiday break.

Cut to the following recipe - Thai style fried tofu that literally takes fewer than 10 minutes of active cooking time from start to finish.  Throw a couple of pre-made dipping sauces and some microwaveable rice in your grocery basket, and you've got yourself a complete meal with minimal time spent in the kitchen and some change left over in your wallet.

Thai Style Fried Tofu

1 block extra firm tofu
1 cup vegetable oil

Serve with:

store bought dipping sauces
pre-cooked microwaveable rice

Before you fry the tofu, you'll want to remove excess liquid.  To get started, cut tofu package open and drain the liquid from the packaging:


Place drained tofu block in a shallow dish:


Fold a paper towel and place on top of tofu:


Place a heavy bowl on top of the paper towel:


Within a minute or so you should start to see liquid seeping out of the tofu, like so:


Let tofu sit with paper towel and bowl on top for 20 to 30 minutes, by which time a lot of liquid should have escaped the tofu and it should be ready to fry:


Heat 1 cup vegetable oil in a deep frying pan over medium heat until almost smoking.  You can test whether the oil is ready by dropping a small piece of tofu in and seeing what happens.  If small bubbles rapidly form around the tofu and it floats to the surface, you will know that the oil is hot enough for frying:


Cut the tofu block into cubes:


And place in the pan with the hot oil (if you have a deep fryer, it would work well for this recipe too).  After about 2 minutes, turn the tofu cubes to ensure that they brown on all sides.:


After the tofu has thoroughly browned on all sides, remove the tofu from the pan and drain on a paper towel to remove excess oil:


Serve with store bought dipping sauces (I used Thai peanut sauce and Thai sweet chili sauce):


and steamed rice (I found this pre-cooked rice in the freezer section which only requires 3 minutes of microwaving to heat up):


Enjoy!