Showing posts with label cake. Show all posts

Sunday, November 17, 2013

Fun With Fondant


Ok, so I think it goes without saying that it's been a long time since my last post.  Sorry about that - I guess that you could say that I've been a little . . . busy.

Paul and I found out in August that we were expecting.  We were so excited to break the news to my in-laws and they have been dying to find out whether we are having a boy or a girl.  I wanted to think of a fun, creative, clever way to break the news, so I thought, what better way than with a gender reveal cake?

I saw all of these amazing cakes on pinterest, but all of them were covered in fondant.  I was lamenting the fact that everything that I read online said that fondant is a royal pain in the butt to make from scratch when one of my co-workers informed me that you can buy pre-made fondant, roll it out, and use it.  Um, what?!?  How did I not know about this when I set about making the impossible present cake (click here for a refresher)?  My life could have been so much easier.  But at least now I'll know for the future!

After doing some research online, I discovered that people preferred the taste of Duff (from Ace of Cakes) fondant.  I ordered some of the Duff fondant from Amazon, picked up some pre-colored fondant at the local grocery store, and then gave it a whirl.  It was surprisingly easy to use and came out looking damn-near professional (at least compared to my usual attempts).  Just call me the Ace of Cakes. ;)

I purchased white fondant for the exterior of the cake:


When you first take it out of the package, it looks a bit frightening:


The frosted mystery cake, ready to be covered in fondant:


Once you roll the fondant out, it looks much more normal:


I used this pre-colored fondant from Wilton to make the question marks for the top of the cake, as well as the accents along the sides:


My mother-in-law cutting the cake for the big reveal:


And finally, it's a . . . .


GIRL! :)

Sunday, January 1, 2012

I Took the BA Ribbon Cake Challenge


Happy New Year everyone!  I know that today is the day that people normally come up with their lists of resolutions for the year to come, but in this post I'd like to focus on a resolution that I made two years ago.  At the beginning of 2010 I vowed to make at least one recipe from Bon Appetit each month.  January flew by, then February, and I am sad to say that like so many New Year's resolutions that I have made over the years, I failed miserably at sticking to my plan.  Before I knew it, March had rolled around, and I still hadn't attempted to make a single recipe from the magazine (for a refresher about my progress, or perhaps more accurately lack thereof, see here). 

By the time the December issue found it's way into my mailbox, I had only successfully made two recipes from 2010 issues of the magazine (a far cry from the twelve I had aimed for, but better than nothing!).  But the moment that I laid eyes on that cover, I promised myself that I would make the amazing cake that graced it no matter how many months (or years) it took me to get around to it. 

Now I want you to understand, this cake is no ordinary cake.  This cake recipe is the one recipe that has been requested more often than any other recipe in the entire history of Bon Appetit magazine.  (The magazine calls it "The Ribbon Cake Challenge".)  It's a three layer chocolate cake, topped with a rum and chocolate buttercream frosting, topped with an espresso chocolate glaze, topped with chocolate ribbons.  All told, 7.5 sticks of butter and 3.5 pounds of chocolate go into this cake.  It is the ultimate cake.  (You can find the recipe here.) 

Once I had my heart set on making the cake, it was just a matter of when I would partake in an event that warranted such an extravagant and decadent cake.  Luckily, December 2011 presented me with the perfect reason - my mother-in-law's 70th birthday party.  What better time to indulge than when celebrating such an amazing milestone?

I am here to tell you that making this cake was not easy.  It took 2 days for me to complete this cake, thanks in no small part to help from my sous chef Paul.  Hands down, it was the most ambitious and difficult baking project that I have ever tackled.  But the result was well worth the effort.  Just maybe don't ask me to make it again until my 70th birthday. 

Here are some of the highlights from the process:


The cake with the buttercream frosting.


The ingredients for the glaze . . .


And the glaze itself.


Waiting for the glaze to set.


The cake once the glaze has set.


After adding the first set of white chocolate ribbons . . .


And topping the white chocolate ribbons with dark chocolate ones.


Bending the chocolate pieces that are to be used to form the bow . . .


And after adding the dark chocolate ribbons on top.


The finished product.

Wednesday, March 9, 2011

Irish Car Bomb Cupcakes


When someone first told me about Irish Car Bomb cupcakes, my reaction was, "How in the hell could something so amazing exist without my knowledge?"  My second reaction was: I need to find an excuse to make those delicious treats.

With St. Patty's Day almost upon us and it being my favorite Irishman's 31st birthday and all, I decided to give them a whirl.  I got my cake recipe from Smitten Kitchen (which seems to unanimously be the favorite car bomb cupcake recipe of everyone on the internet), but used my own frosting recipe and omitted the chocolate whiskey ganache filling in favor of piping some of the Irish cream frosting mixture inside of the cupcakes instead.

I hope you enjoy these perfect little desserts as much as we did!

Guinness Chocolate Cupcakes

(This recipe makes 2 dozen cupcakes.)

1 cup Guinness
1 cup (2 sticks) unsalted butter
3/4 cup unsweetened cocoa powder
2 eggs
2/3 cup sour cream
2 cups all purpose flour
2 cups sugar
1 1/2 tsp baking soda
3/4 tsp salt

Irish Cream Frosting

1 lb. box confectioner's (powdered) sugar
1/2 cup (1 stick) unsalted butter
1 tsp vanilla extract
1/4 cup Irish Cream

For the Cupcakes:

Preheat oven to 350 F.

Add 1 cup of Guinness:


and 2 sticks unsalted butter to small saucepan over medium heat:


After butter has melted, add 3/4 cup of cocoa powder and whisk to mix completely.  Allow mixture to cool slightly.

While the Guinness, butter, and cocoa mixture is cooling, beat eggs and sour cream together with an electric mixer until smooth:


Add stout-butter-cocoa mixture to the egg-sour cream mixture and combine until smooth:


Whisk flour, sugar, baking soda, and salt together in a large bowl and add to stout-butter-cocoa-egg-sour cream mixture in three additions, stirring well to combine after each addition.

Divide batter among 24 lined cupcake tins, filling each tin approximately 3/4 full:


Bake cupcakes for 17 minutes (or until tester inserted in the center comes out clean):


Transfer cupcakes to wire rack and cool completely.


For the Irish Cream Frosting:

In electric mixer using whisk attachment, whisk 1 stick room temperature butter with box of powdered sugar until just smooth.  Add vanilla extract and Irish Cream - I had this bottle of Carolans lying around from a night of Copper Camel drinking (if you've never had a Copper Camel, make one - they're delicious), but of course Bailey's would work just as well:


Stir to combine.  Frosting should be slightly stiff, but creamy, like so:


(If the frosting is too liquidy/not stiff enough, add more powdered sugar.  If the frosting is to firm, add more Irish Cream.)

Either simply top the cupcakes with the frosting, or use a knife to cut a hole in the center of the cupcakes and pipe some frosting in.

Thursday, October 21, 2010

Let Them Eat Cake

Last Saturday was my 30th birthday.  If you know me, then you know that I absolutely love birthdays.  I make a huge deal out of other people's birthdays, and I love a celebration.

This year, in honor of the big 3-0, I spent 3 days making myself a birthday cake.  I had made this cake once before (I got the recipe from a Thanksgiving issue of Bon Appetit), so I knew it was no small undertaking.  I mean, it involves not only making the batter and frosting from scratch, but also making your own caramel from scratch.  (A process which I have documented below and prior to this recipe would never have considered attempting.)  But if you are ever going to spend your precious spare time making yourself (or someone you love) a cake this involved, I would say that a milestone birthday is probably the proper occasion.  Here are some highlights from the process:

I started out by buttering and flouring my cakepans to make sure the batter wouldn't stick:


The finished pumpkin spice cakes came out looking golden and delicious:


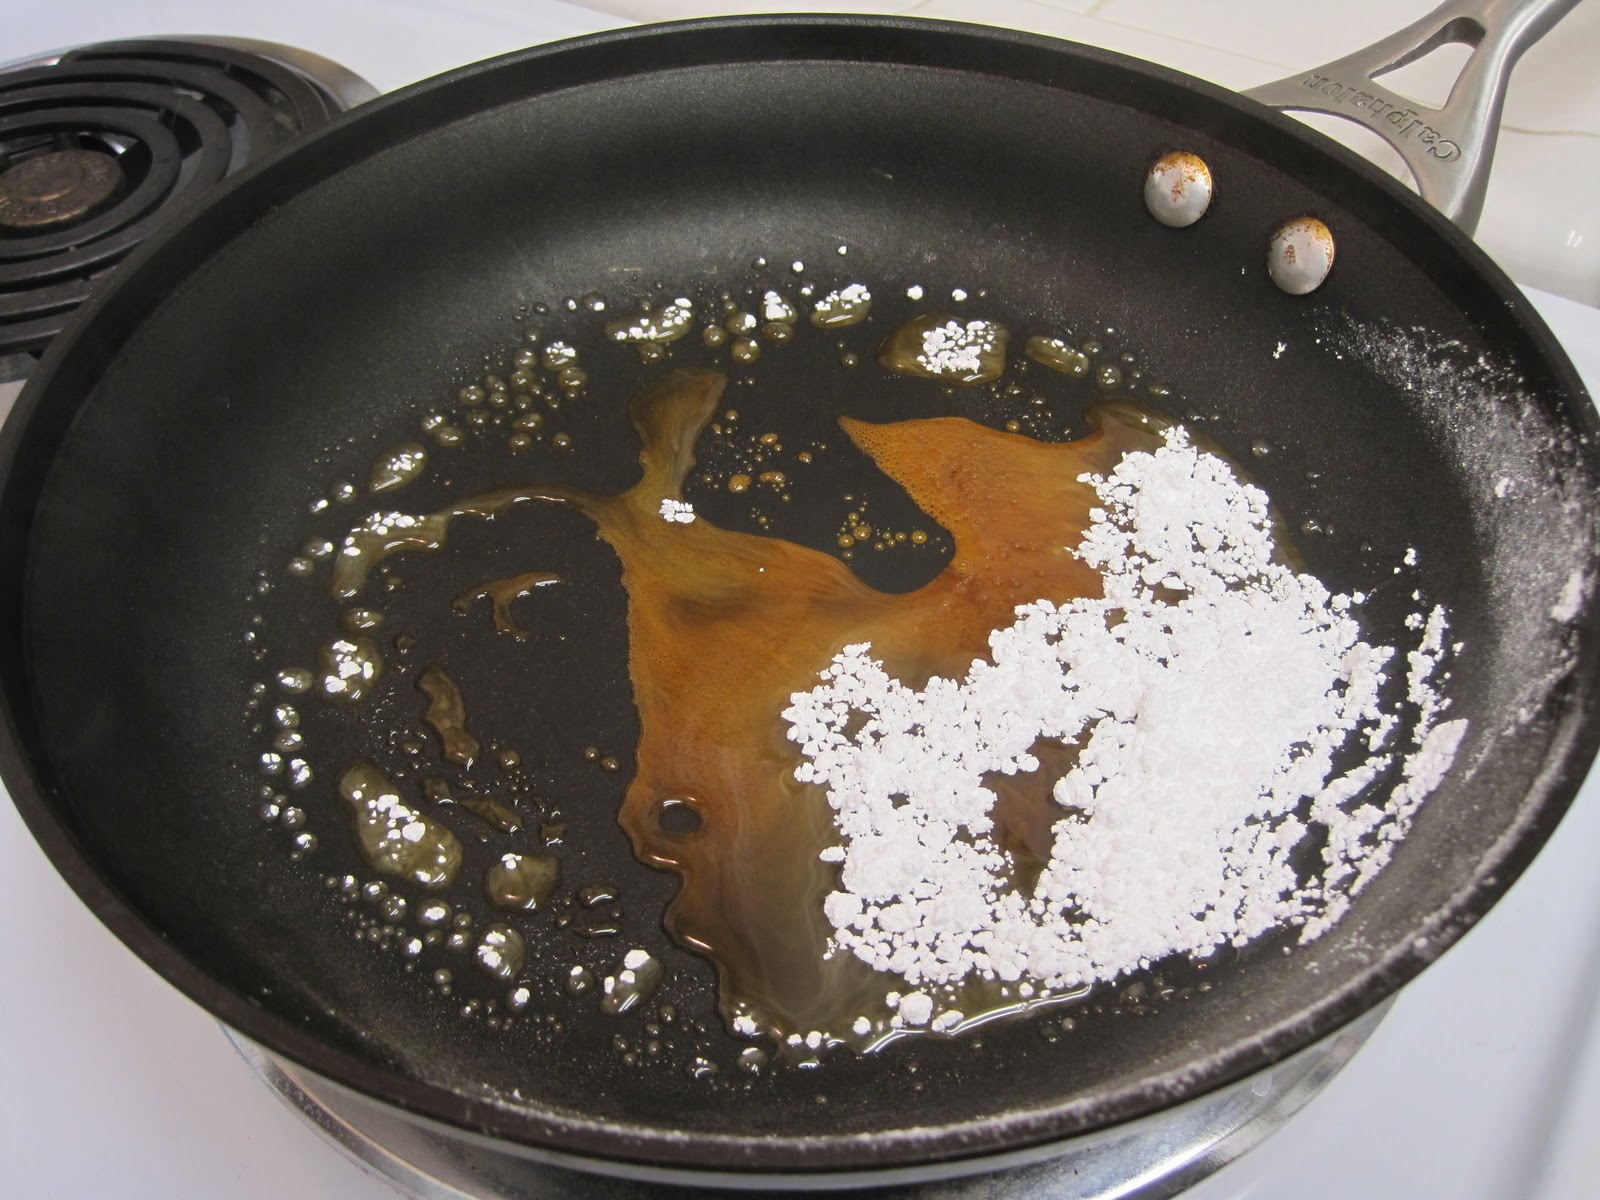
After letting the cakes cool overnight, I started on the frosting.  The first step is to make the caramel.  You start with 1/2 cup of powdered sugar in a pan over medium heat:


The sugar starts to melt:


And take on a golden brown color:


Once it has all melted, you continue to cook it until it turns amber:


At which point, you add 1/2 cup cream, 1 tsp vanilla extract, and 1/4 tsp salt and the mixture begins to bubble like crazy:


 You'll want to stir the mixture until any grainy bits dissolve:


And then strain it:


Once the strained caramel has cooled to room temperature, you can add it to the cream cheese frosting:


Then after frosting the cake and letting it set overnight it will look something like this:


I ate this slice for breakfast (because one nice thing about being 30 is not having to wait until after you finish all of your dinner before you get to eat your cake):