If there were such a thing as a "culinary bucket list", making gnocchi from scratch would be at the top of that list for me. Like risotto or souffles, gnocchi is one of those food items that approaches urban legend status among home cooks for the sheer level of difficulty that is reported to be associated with it. For years I have been tempted to try my hand at making it, but I never owned a potato ricer and I had been assured by everyone I met that attempting to make gnocchi without one would end in certain disaster.
As luck would have it, Santa saw fit to bring me a potato ricer for Christmas this year (ok, so technically it was my sister Anne, but saying that Santa brought it just makes it sound so much more magical). Since I no longer had an excuse to hide behind and I did vow to be more adventurous this year, I figured I'd give it a whirl. A few months ago I bookmarked a webpage that Bon Appetit had created with a
step by step slideshow on how to make gnocchi, just in case a ricer ever found its way in to my kitchen. I used this guide as a reference and combined the tastiest sounding elements of several recipes that I found online. The rest is culinary bucket list history.
Potato Gnocchi
6 medium sized potatoes
a dash of grated nutmeg
a dash of salt
a dash of pepper
1 cup all purpose flour
1 large egg
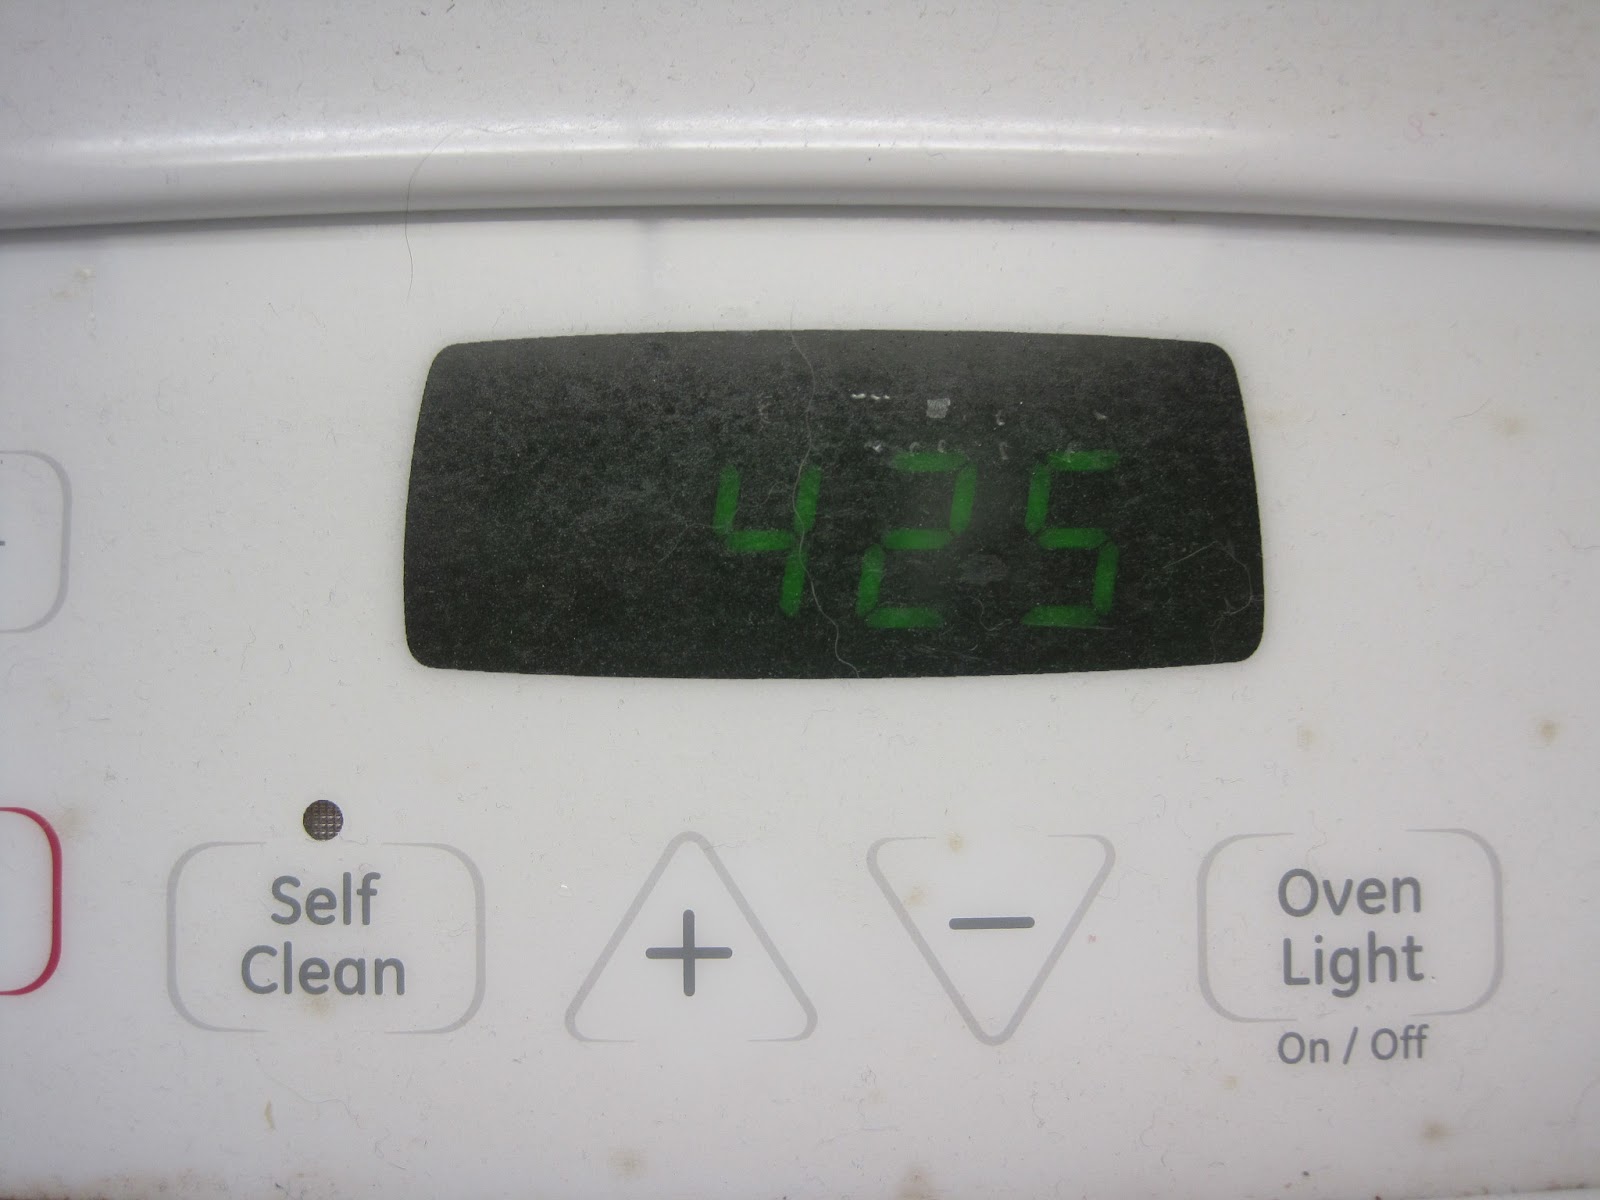
Preheat the oven to 425 F. Prick potatoes with a fork and bake them on the center oven rack for one hour, turning them once to ensure even baking. When the potatoes are done baking, the skins will be brown and crispy:
Remove the potatoes from the oven and allow them to cool for approximately 5 minutes (until they are still warm but cool enough to handle). Cut the potatoes down the center and scoop the insides out of the skins and into a potato ricer. (If you have an adjustable ricer, make sure that it is set to the finest/smallest setting.) Run the potatoes through the ricer. You should end up with fluffy mashed potatoes:
Add the nutmeg, salt, pepper, and flour and toss to coat. After all ingredients have been combined, create a well in the center of the mixture and crack the egg into it. Mix together by kneading with your hands until the dough just comes together (be careful not to over knead the dough):
Shape the dough in to a ball on a lightly floured surface. Cut the ball into four evenly sized pieces. Roll each piece between your hands and the work surface to form a 3/4-inch-thick rope:
Cut each rope into approximately 1 inch pieces using a sharp knife. Place the cut pieces on a tray in the fridge for 20 minutes.
Working in 4 batches, cook the gnocchi in salted boiling water. (The gnocchi will sink to the bottom of the pot when they are first placed in the water. When they are finished cooking, they will float to the surface.) Cooked gnocchi are delicate, so remove them from the water using a slotted spoon:
You could top these gnocchi with just about anything (pesto, marinara, brown butter, etc.) I made a roasted tomato sauce to accompany my gnocchi, as follows:
Oven Roasted Tomato Sauce
5 vine ripened tomatoes
olive oil
salt
pepper
2 cloves of minced garlic
Cut tomatoes into quarters and place in a glass baking dish. Drizzle olive oil over tomatoes and season with salt and pepper. Bake at 425 F for 45 minutes (until the tomato skins become wrinkled):
Saute garlic over medium heat in a frying pan that has been drizzled with olive oil. Place the potato ricer on the coarsest/largest setting. Spoon the oven roasted tomatoes into the ricer and crush them into the frying pan (this process will remove the tomato skins but not the seeds). Saute the tomatoes and garlic for approximately 20 minutes. Puree the mixture using a blender or food processor in order to break up the seeds and obtain a smooth consistency. Pour the blended sauce over the gnocchi, top with freshly grated parmesan cheese, and enjoy!