Saturday, June 4, 2011
Chilaquiles: The Best Thing I Ever Ate (Breakfast Edition)
You know that show The Best Thing I Ever Ate on the Food Network? The one where famous chefs talk about their favorite meals? Well whenever I watch this show, it always spurs a conversation in my house about what the best thing I ever ate was. For someone who loves food and traveling as much as I do, trying to narrow down my favorite meals is usually no small task.
But I have to say that when it comes to breakfast, there is one meal that stands out above all others in my mind: the chilaquiles I had on my 29th birthday at Hell's Backbone Grill in Boulder, Utah. Even though I had lived in Utah for 4 years at the time, I had never heard of Boulder, Utah or Hell's Backbone Grill until I picked up Bon Appetit's May 2009 issue and read the article The United Plates of America: A Guide to the Best Things to Eat, Drink, and Buy in All 50 States (if you haven't read this article before, I recommend that you click on it - you just might discover something that you didn't know about in your own state too). After I read the article, I googled Hell's Backbone and saw that it had also won acclaim from Fodor's, the New York Times, and Zagat and I decided that I absolutely had to eat there before I moved away.
So for my birthday we went on a road trip and camped in various parts of Southern Utah. We ended up at Hell's Backbone on the morning of my birthday for brunch:
I ordered the chilaquiles and I was blown away. Of course I had had chilaquiles before, but none this good. Maybe it was just because everything tastes better when you've been camping. Maybe I was on a birthday celebration high. Whatever the reason, these chilaquiles were the BEST. THING. I. EVER. ATE!
Watching that show on the Food Network gave me a fierce craving for this delicious dish. Since I'm 650 miles away from Hell's Backbone this morning, I decided that I had better just make some for myself.
Chilaquiles (pronounced chee-lah-kee-less)
vegetable oil (for frying the tortillas)
8-12 small corn or flour tortillas (if you don't have tortillas on hand, you can use tortilla chips instead)
salt (to season the tortillas with)
1 14 oz can of red chile sauce (if you can't find red chile sauce, substitute salsa or enchilada sauce)
6 eggs, scrambled
1 Tbsp heavy whipping cream
grated cheddar cheese (as a garnish)
Pour enough vegetable oil into a large skillet to cover the bottom and heat over medium heat. Cut tortillas into quarters:
Once oil is heated, fry tortilla pieces in three separate batches for about 2-3 minutes per side (until starting to lightly brown and crisp slightly).
When you first put the tortilla pieces in the oil, they'll look like this:
After 2 -3 minutes, flip them over (they should be light brown and slightly crisp, like so):
Remove tortilla pieces from skillet and season with salt. Drain tortilla pieces on a paper towel lined plate (to remove excess oil):
Remove excess oil from skillet and add red chile sauce:
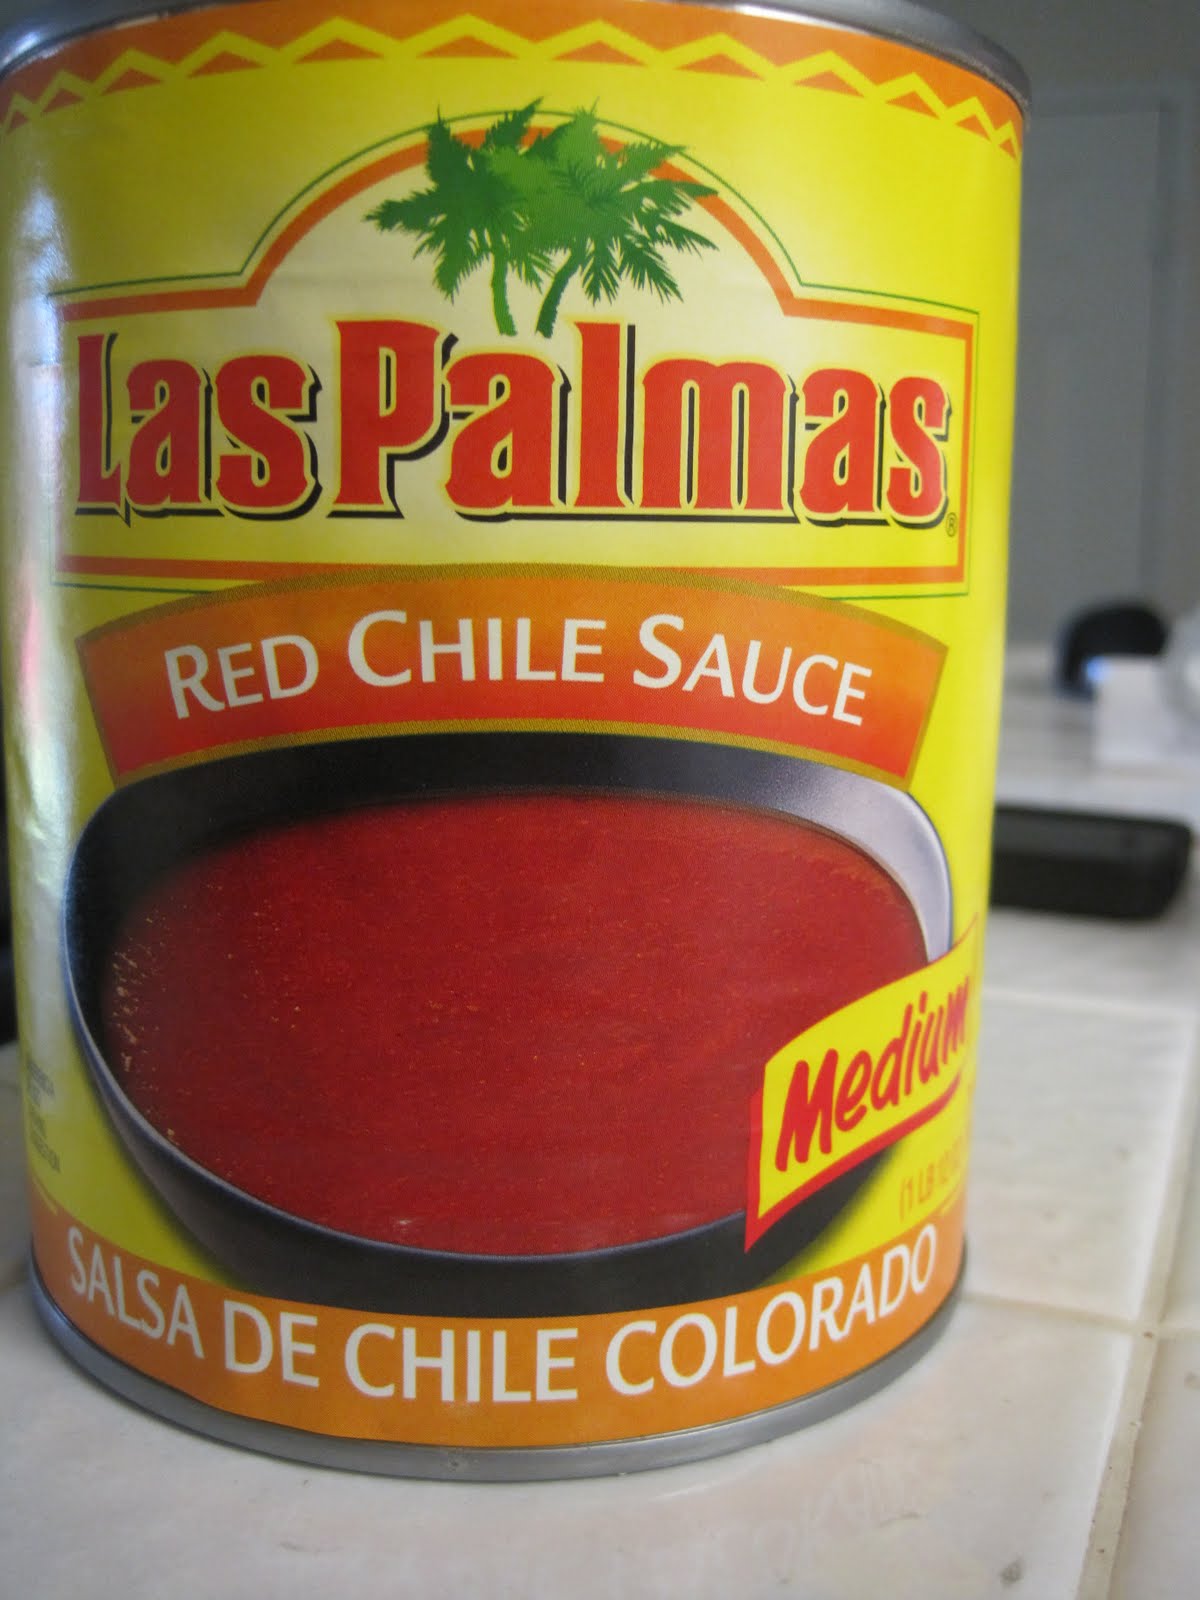
Heat until just boiling, then reduce heat and simmer for about 5 minutes to heat sauce through:
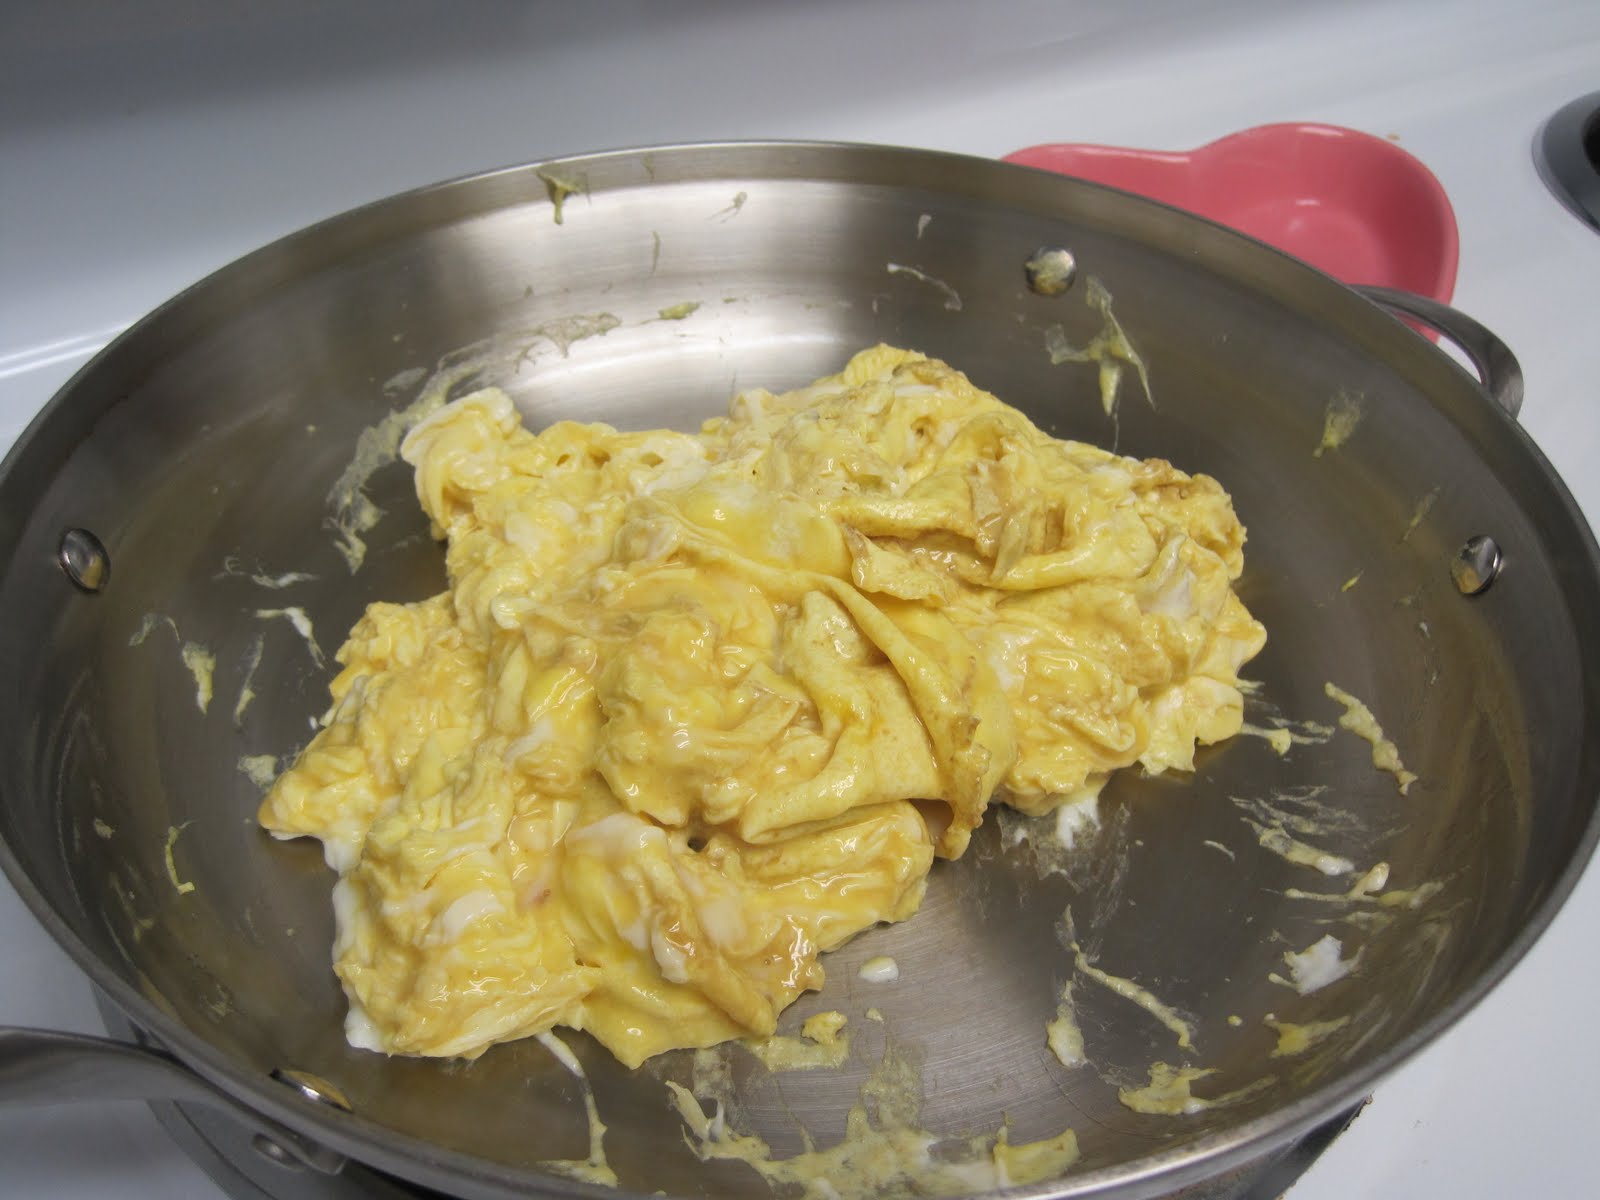
As the sauce heats, whisk 6 eggs and 1 Tbsp cream together in a medium sized bowl:
And scramble over medium heat in a separate skillet:
Once sauce has heated, add tortilla pieces, turning to coat:
Cook until tortillas start to soften slightly (about 3 - 5 minutes). Remove tortillas and place at the bottom of a shallow bowl:
Top with scrambled eggs:
Drizzle with more red chile sauce:
Top with cheese and enjoy!
Wednesday, June 1, 2011
Soup's On!
After three decadent pasta posts in a row (here, here, and here), I figured it might be time to lighten up a little (because even though I'd absolutely love to, I probably shouldn't eat pasta for dinner every single night).
I grew up in a fairly small town which was your typical suburb on the outskirts of a big city. It was full of strip malls, fast food chains, and mass market retailers. Like most suburbs, it was hard to find local shops and even harder to find multi-cultural restaurants (a.k.a. anything but pizza and burgers and chain restaurants). Because of this, there were a lot delicious foods that I never had the opportunity to try until I moved away to "the big city" for college (sushi, spanakopita, pho, and chana masala, just to name a few).
But there were a couple of hidden gems out there. One was called the Great Wall (and served, as you may have guessed, Chinese food). As a kid I loved getting to try all of the fun, exotic dishes that my parents never dared try to make at home - General Tso's chicken, Kung Pao shrimp, egg drop soup.
But far and away my favorite dish was always the wonton soup. The other day I got a craving for some, and being 150 miles or so away from the Great Wall, I decided to try to whip some up myself.
I had these chicken gyoza/potstickers from Trader Joe's in the freezer, so I decided to use them instead of attempting to make my own from scratch:
Wonton Soup
5 cups chicken stock
2 cloves garlic, minced
1 bunch green onions (use both the pale and dark green parts of the onions), chopped
8 oz shitake mushrooms, sliced
1/2 16 oz package of frozen gyoza/potstickers (about 10 potstickers)
several tsps sesame oil (as a garnish)
Bring stock, minced garlic, and chopped green onions to a boil over medium heat. Add mushrooms and cook until tender (about 5 minutes). Add potstickers and cook for about 5 minutes (or until potstickers are tender and cooked through). Ladle soup into bowls, garnish each bowl with 1 tsp sesame oil, and enjoy!
Monday, May 30, 2011
Lemon Pepper Pappardelle: Pasta Perfection Part 3
My favorite restaurant here in La Jolla is Piatti. I've celebrated many of my life's milestones there: we held our rehearsal dinner for our wedding at Piatti, and I've celebrated several birthdays and our first wedding anniversary there as well. The restaurant has a charming candle lit patio where you dine al fresco under a huge ficus tree (very romantic). But what really keeps me coming back time and time again is a heavenly pasta dish that they make called Pappardelle Fantasia. This delectable pasta consists of a saffron pappardelle in a white wine, garlic, and tomato sauce served with shrimp. I love this pasta so much that if I could eat it every day, I would.
When I was living in Salt Lake City for five years, this pasta was one of the things that I missed most about San Diego. I wrote to Bon Appetit's RSVP column (a feature in the magazine where readers write in with stories about their favorite restaurant meals and the magazine asks the chefs to share the recipe) several times, pleading my sob story about how my favorite dish was now three states away and how I desperately wanted the recipe so I could recreate it at home, all to no avail.
I'll never know if my story was not intriguing enough to stand out amongst the hundreds of submissions to the column or if the chef simply refused to share the recipe. Whatever the case, in the end it turned out to be a blessing in disguise, because it forced me to be creative in the kitchen and try to recreate the dish on my own. I admit that I never quite mastered the exact nuances of the restaurant's dish, but now that I'm back in San Diego, I can go to Piatti whenever I please. And on the nights when I'd rather eat pasta on the couch in my p.j.s (which is more often than not) , I can whip up this pasta which comes in as a close second to the Fantasia.
Lemon Pepper Pappardelle
1 8 oz package of lemon pepper papparedelle (if you can't find flavored pappardelle, use regular noodles)
3 Tbsp unsalted butter
4 cloves minced garlic
1 15 oz can of petite diced tomatoes
1 tsp crushed red pepper flakes
1/4 cup dry white wine
1/4 cup reserved pasta cooking water
fresh basil and parmesan (as a garnish)
(for a non-vegetarian version, you could top this pasta with chicken or shrimp)
Bring salted water to a boil in large pan and cook lemon pepper pappardelle until al dente according to package directions (Trader Joe's sells a great one, pictured here):
While pasta is cooking, melt 2 Tbsp unsalted butter over medium heat. Once butter has melted, add minced garlic and cook for about 2 minutes:
Add diced tomatoes, red pepper flakes, white wine and pasta cooking water and simmer until mixture reduces by about half:
Add pasta and remaining 1 Tbsp of butter to tomato mixture. Cook until butter melts and toss noodles to coat:
Plate and granish with fresh basil and freshly grated parmesan:
Tuesday, May 24, 2011
Pasta Al Pomodoro: Pasta Perfection Part 2
I promised that I'd be sharing lots of pasta recipes with you all in the coming posts, and I do not aim to disappoint!
The second pasta recipe that I'd like to share is a variation on the cover recipe from the Bon Appetit Italy issue that I mentioned to you in my last post:
Usually when I think of making pasta al pomodoro, I don't think of adding onions - just a very simple sauce consisting of tomato, basil, and garlic. After trying this recipe, I have to say that the onions do add a nice depth of flavor to this simple, light, and delicious sauce.
Pasta Al Pomodoro
1/4 cup extra virgin olive oil
1 medium yellow onion, diced
4 cloves garlic, minced
1 tsp red pepper flakes
1 28 oz can of tomato sauce
salt and pepper to taste
1 4 oz package of fresh basil
1 lb. of spaghetti
2 Tbsp unsalted butter
1/4 cup finely grated parmesan
Heat olive oil in a large frying pan over medium-low heat. Add onion:
Cook for approximately 12 minutes (or until onions start to soften and are coated with olive oil):
Add garlic and cook for 4 minutes, stirring. Add red pepper flakes and cook for 1 minute.
Increase heat to medium and add tomato sauce:
Season with salt and pepper and let simmer for 20 minutes. Remove pan from heat and add basil sprigs (whole).
Bring a large pot of water to a boil over medium-high heat. Add spaghetti and cook until 2 minutes shy of al dente (according to package cooking directions). Drain pasta but reserve 1/2 cup of cooking water.
Remove basil from sauce and discard. Heat sauce over high heat. Stir in pasta water and bring to a boil. Add spaghetti:
Cook until pasta is al dente (approximately 2 minutes). Remove pan from heat and add butter and cheese:
Stir until cheese and butter melt. Serve warm and top with more cheese (can you really ever have too much cheese?).
Thursday, May 19, 2011
Cacio e Pepe = Pasta Perfection
Sorry I have been such a lame blogger as of late. After my last post, I spent several weeks traveling (both for work and for fun) and once I got back, I was super behind and had a ton of things to catch up on, both at work and at home.
Now that things are finally settling down (and I am strapped for cash from my latest travel extravaganza), I am finally getting back into cooking - which is good news for both my wallet and my blog!
My latest cooking inspiration has been coming from one of the recent issues of Bon Appetit, which had the following promise on the cover:
Um, yes please! (You can expect to see lots of pastas coming your way in the next few posts people.)
According to this issue of the magazine, the real secret to restaurant-worthy pasta is all about combining the sauce and the pasta together in a single pan and letting them meld together.
For my first attempt at this technique, I attempted a traditional cucina povera (or "peasant cuisine") style dish - in a nutshell, this is basically a dish that requires very few ingredients but is still rich in flavor. I chose Cacio e Pepe, which is literally translated to "cheese and pepper", and it is honestly just about that simple. But don't let the simplicity of the recipe or the cucina povera nature of the dish fool you into thinking this is just some ho hum dish - you'll find it hard to believe just how rich and flavorful cheese and freshly cracked pepper can be!
Cacio e Pepe
1 lb spaghetti
3 Tbsp unsalted butter
1 tsp freshly cracked black pepper
3/4 cup finely grated parmesan
1/3 cup finely grated pecorino romano
Bring salted water to a boil in a large pot and cook spaghetti until 2 minutes shy of "al dente" (according to package cooking instructions). Drain pasta, reserving 1 cup of pasta water.
Melt 2 Tbsp butter in large frying pan over medium heat:
Add pepper and cook until toasted (approximately one minute):
Add 1/2 cup of reserved pasta water to pan and simmer until reduced by about half:
Add pasta, remaining Tbsp of butter:
and both cheeses:
Reduce heat to low and toss with tongs (or, if you are brave and not afraid of possibly having to scrub down your range after, by doing those fancy pan flips you always see celebrity chefs doing) until the cheese is melted and the pasta is coated with sauce. (If the sauce seems too dry, add more pasta water):
Spoon into bowls and serve.
Bon appetite!
Wednesday, March 9, 2011
Irish Car Bomb Cupcakes
When someone first told me about Irish Car Bomb cupcakes, my reaction was, "How in the hell could something so amazing exist without my knowledge?" My second reaction was: I need to find an excuse to make those delicious treats.
With St. Patty's Day almost upon us and it being my favorite Irishman's 31st birthday and all, I decided to give them a whirl. I got my cake recipe from Smitten Kitchen (which seems to unanimously be the favorite car bomb cupcake recipe of everyone on the internet), but used my own frosting recipe and omitted the chocolate whiskey ganache filling in favor of piping some of the Irish cream frosting mixture inside of the cupcakes instead.
I hope you enjoy these perfect little desserts as much as we did!
Guinness Chocolate Cupcakes
(This recipe makes 2 dozen cupcakes.)
1 cup Guinness
1 cup (2 sticks) unsalted butter
3/4 cup unsweetened cocoa powder
2 eggs
2/3 cup sour cream
2 cups all purpose flour
2 cups sugar
1 1/2 tsp baking soda
3/4 tsp salt
Irish Cream Frosting
1 lb. box confectioner's (powdered) sugar
1/2 cup (1 stick) unsalted butter
1 tsp vanilla extract
1/4 cup Irish Cream
For the Cupcakes:
Preheat oven to 350 F.
Add 1 cup of Guinness:
and 2 sticks unsalted butter to small saucepan over medium heat:
After butter has melted, add 3/4 cup of cocoa powder and whisk to mix completely. Allow mixture to cool slightly.
While the Guinness, butter, and cocoa mixture is cooling, beat eggs and sour cream together with an electric mixer until smooth:
Add stout-butter-cocoa mixture to the egg-sour cream mixture and combine until smooth:
Whisk flour, sugar, baking soda, and salt together in a large bowl and add to stout-butter-cocoa-egg-sour cream mixture in three additions, stirring well to combine after each addition.
Divide batter among 24 lined cupcake tins, filling each tin approximately 3/4 full:
Bake cupcakes for 17 minutes (or until tester inserted in the center comes out clean):
Transfer cupcakes to wire rack and cool completely.
For the Irish Cream Frosting:
In electric mixer using whisk attachment, whisk 1 stick room temperature butter with box of powdered sugar until just smooth. Add vanilla extract and Irish Cream - I had this bottle of Carolans lying around from a night of Copper Camel drinking (if you've never had a Copper Camel, make one - they're delicious), but of course Bailey's would work just as well:
Stir to combine. Frosting should be slightly stiff, but creamy, like so:
(If the frosting is too liquidy/not stiff enough, add more powdered sugar. If the frosting is to firm, add more Irish Cream.)
Either simply top the cupcakes with the frosting, or use a knife to cut a hole in the center of the cupcakes and pipe some frosting in.
Wednesday, February 23, 2011
Chana Masala = Spice Paradise
When we were still living in Salt Lake, we would go out for Indian food about once a week to the Star of India. My husband's favorite meal there was the Chana Masala, extra spicy. Now that we're out here in San Diego, we don't have an Indian place to go to anymore (although I am sure there are plenty of great spots that we just haven't found yet). So as a surprise for my husband, I decided to try my hands at making Indian food for the first time. (I'm not sure why, but I have never made Indian food before. I think all of the spices that are involved have always seemed intimidating to me.) Here's my first attempt at chana masala - to my surprise, it was quick, easy, and I was able to make it entirely with spices I already had in my pantry. And while my recipe may not have been traditional (I didn't have some of the traditional ingredients including garam masala and amchoor powder and I am fairly certain that jalapenos are not normally in Indian food), it sure was tasty:
Chana Masala (as written, this recipe will serve 2-3 people)
3 Tbsp vegetable oil
1 medium onion, diced
4 cloves garlic, minced
1 tsp ground ginger
1 jalapeno (cored and seeded with the white part removed), minced
1/2 Tbsp coriander
1/2 tsp cayenne pepper
1/2 tsp ground turmeric
1/2 tsp chili powder
1 tsp paprika
1 15 oz can diced tomatoes
1 15 oz can garbanzo beans (chickpeas)
1/3 cup water
freshly squeezed juice of 1/2 lime
salt and pepper to taste
chopped fresh cilantro
Heat oil in a medium sized skillet over medium heat. Add onion, garlic, ginger, and jalapeno and saute until browned (for approximately 5 minutes):
Reduce heat to medium-low and add all spices:
Stir to mix and saute for about 2 minutes until onion mixture is well coated:
Add tomatoes and stir to mix:
Add garbanzo beans and water:
Simmer uncovered for 10 minutes to reduce. In the meantime, heat oven to 200 F. Wrap naan in foil and heat in oven for 5 minutes to warm. (I used Trader Joe's Tandoori Garlic Naan, pictured below):
After the chana masala has simmered for 10 minutes, season with salt and pepper, and add freshly squeezed lime juice and cilantro to taste:
Serve with naan and cilantro lime rice (see below for recipe) and enjoy!
Cilantro Lime Rice
1 cup jasmine rice
2 cups water
freshly squeezed juice of 1/2 lime
chopped fresh cilantro (approximately 1 Tbsp)
1 Tbsp butter
Add rice, water, lime juice, cilantro and butter to a rice cooker (or medium sauce pan):
Cook until liquid is absorbed (approximately 20 minutes). Fluff with fork and serve.
Subscribe to:
Posts (Atom)